-
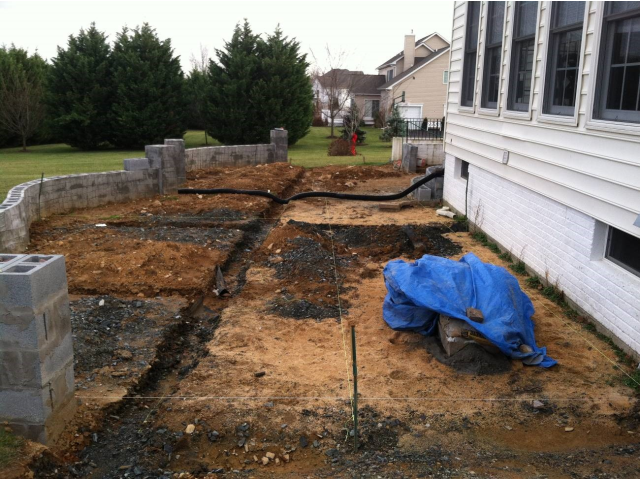
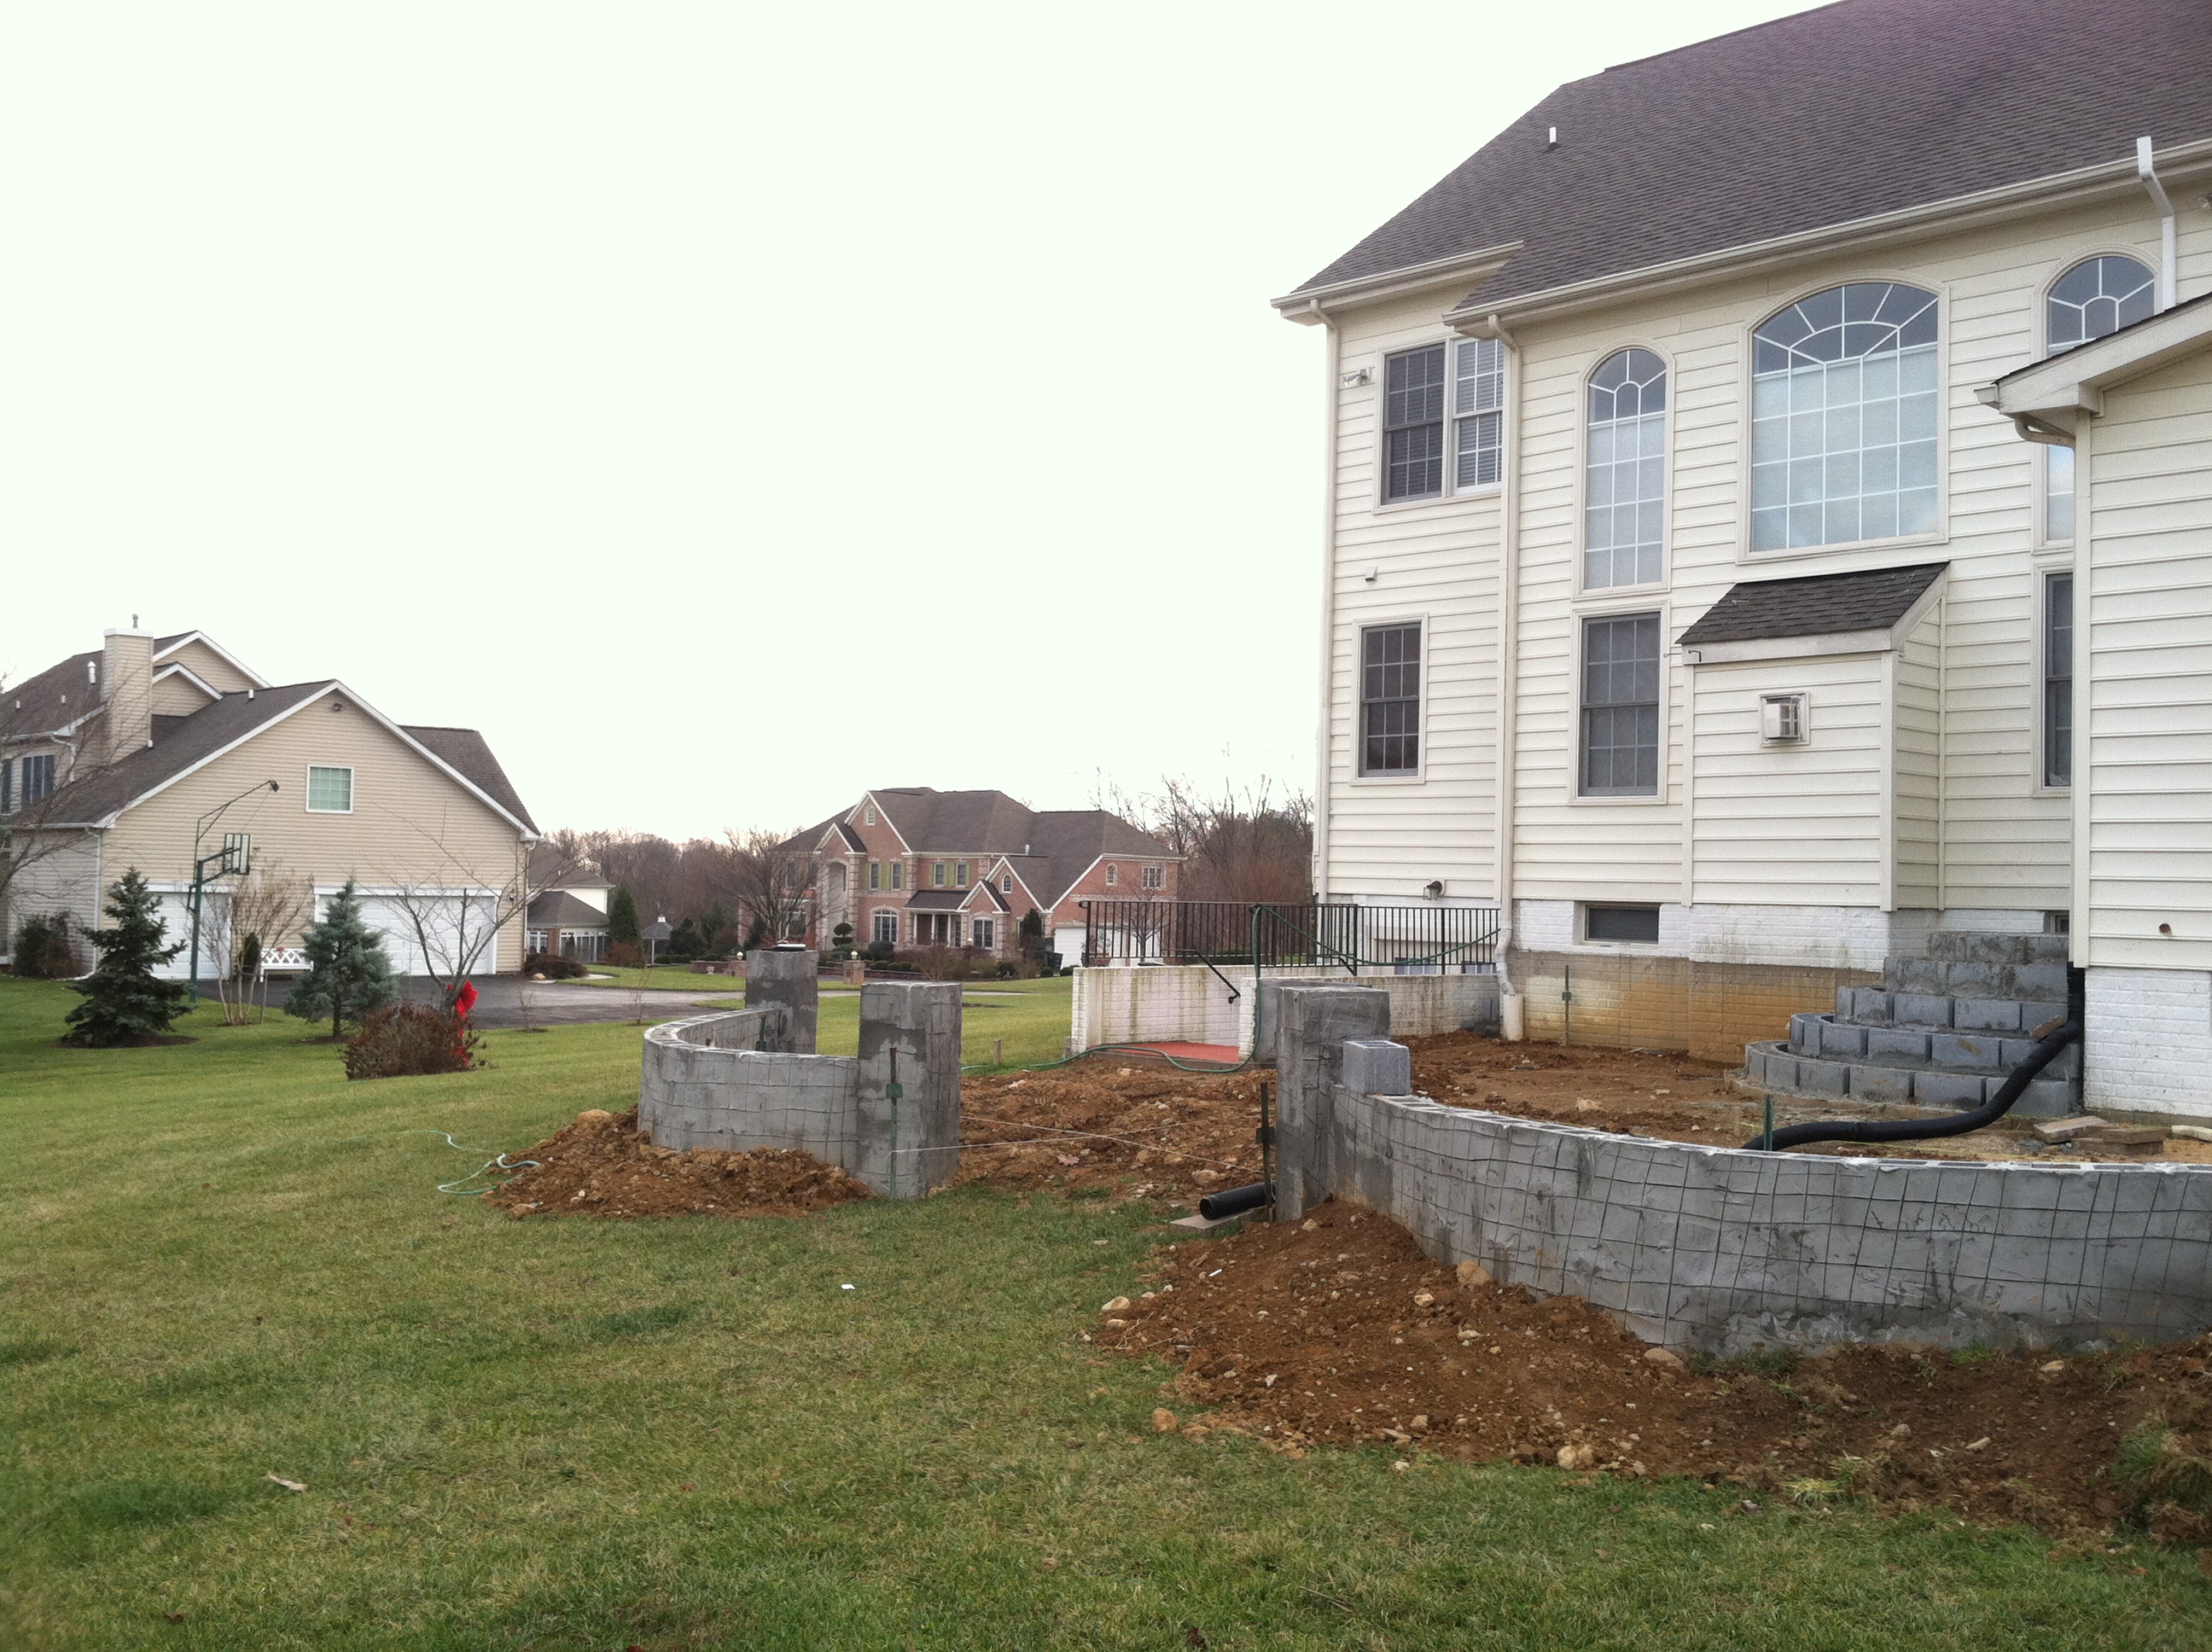
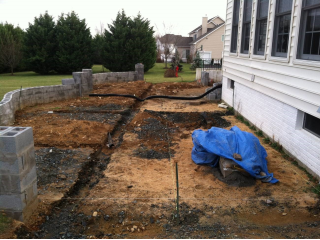
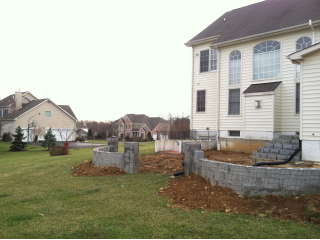
Before Photo. When we first arrived on site, there were trenches dug which led nowhere, excavation and compaction had not been done, dirt and gravel and construction trash was left laying all over the site while downspout pipes were dumping rain water into the future patio work area.
-

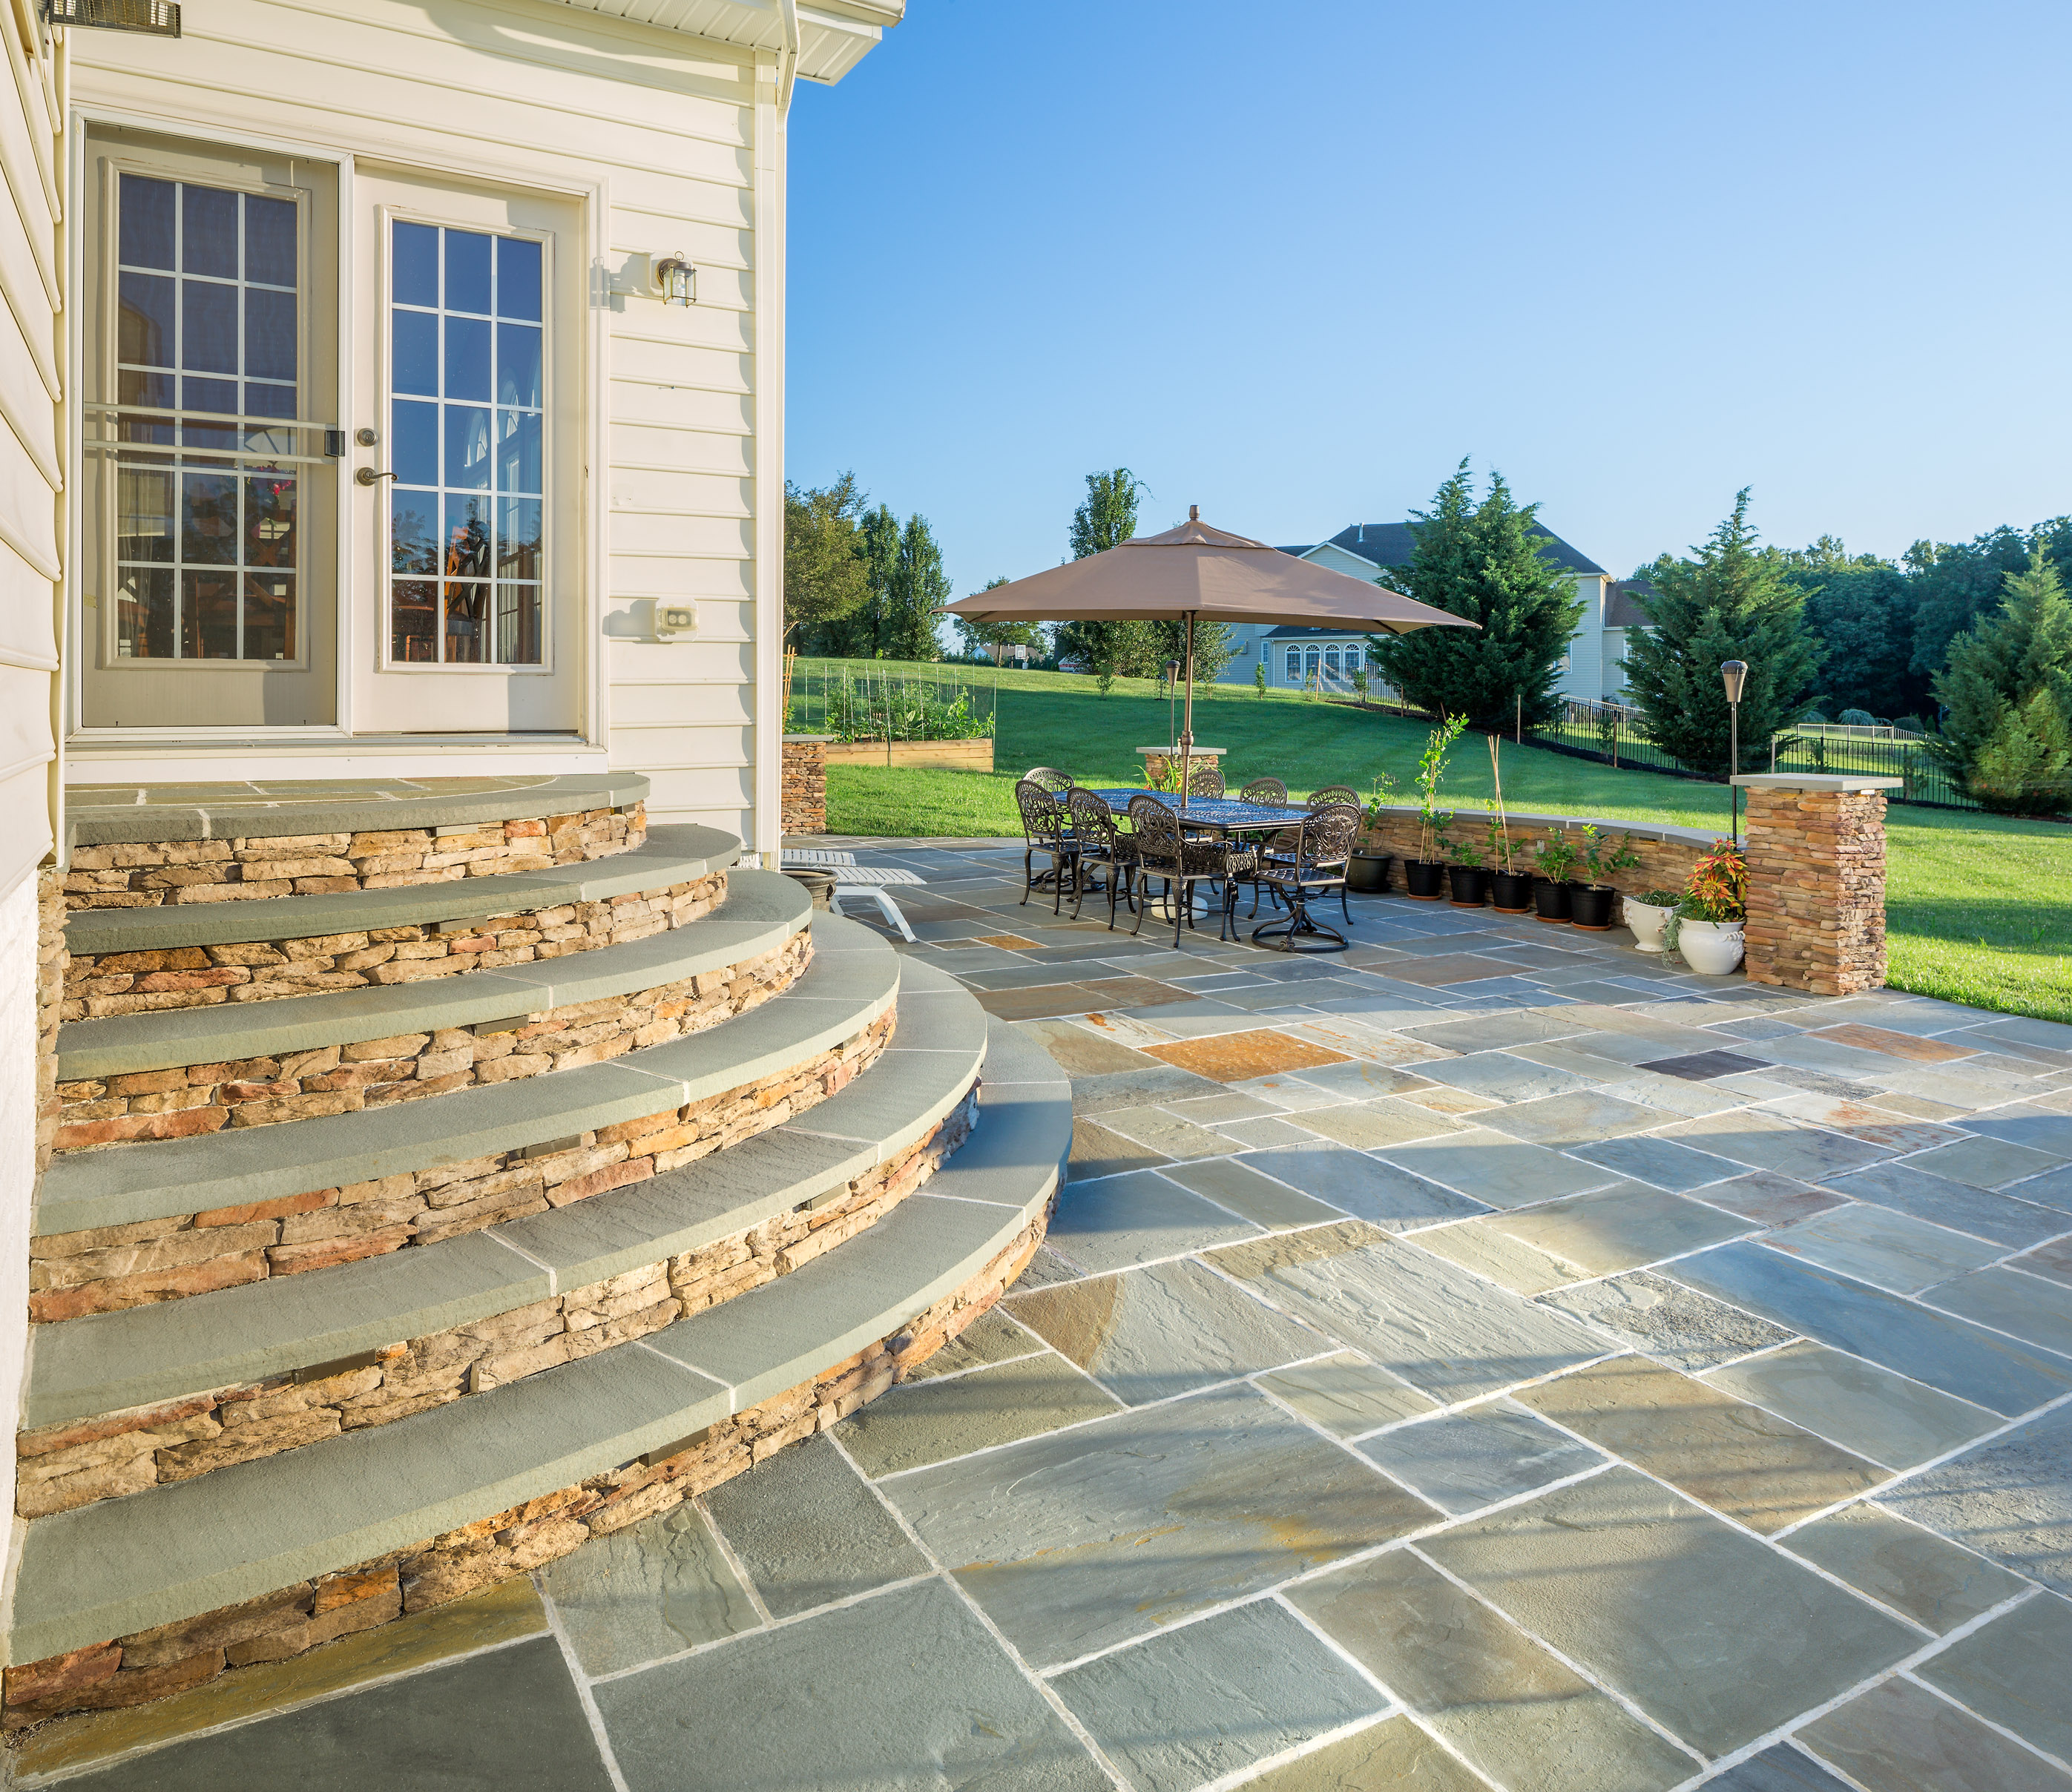
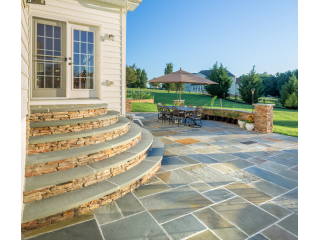
Looking at the completed steps and across the natural bluestone patio. The iron ore in the bluestone ties in with the stone veneer on the walls and steps, which the homeowner selected to go with the brick on the front of the house.
-

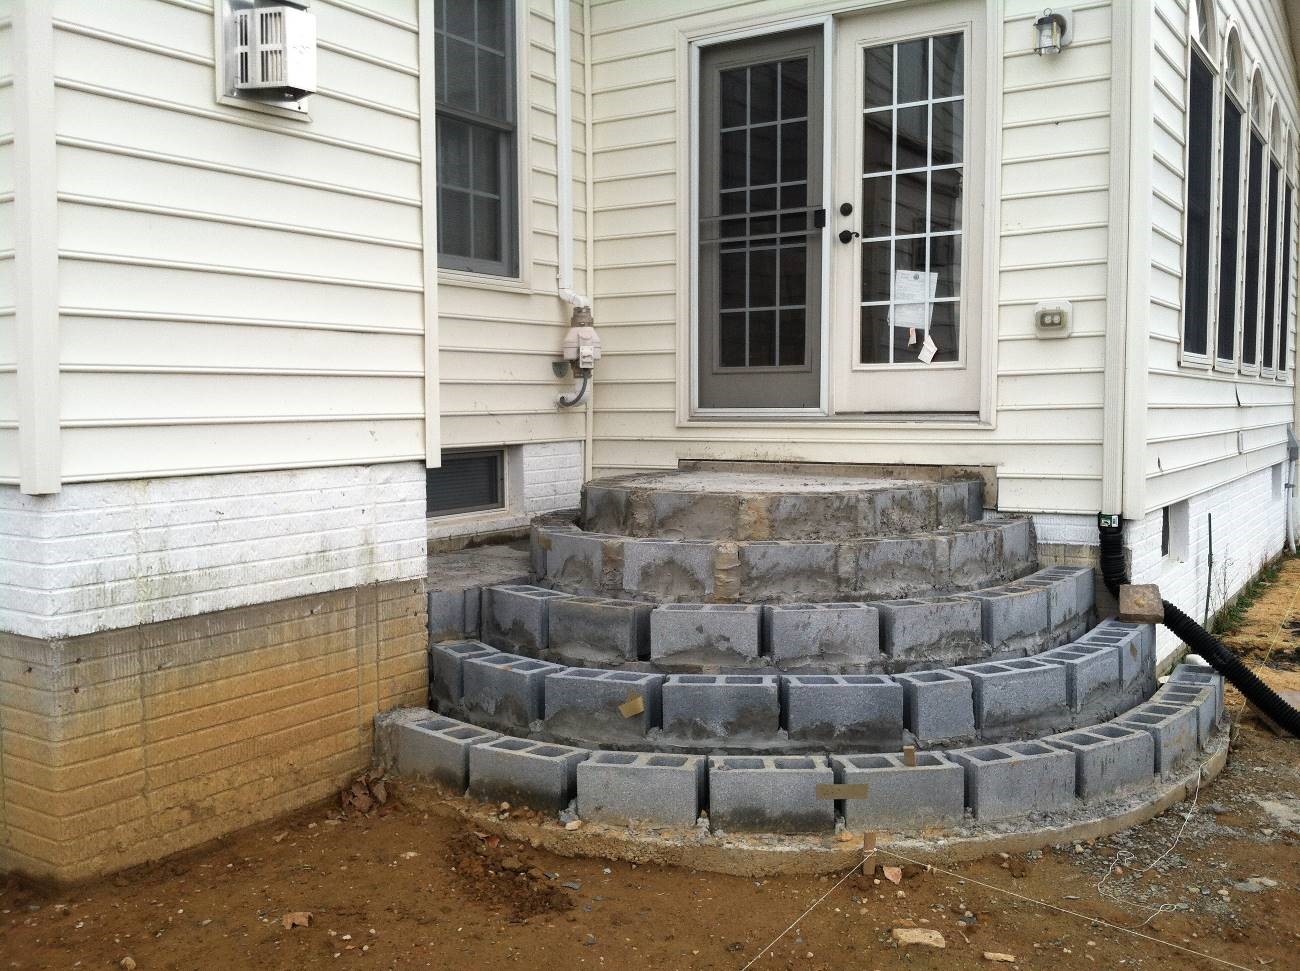
Before photo. This is the condition of the stairs when we first met the homeowner. The block work was poorly constructed and the footer was at grade and only 3-4 inches thick.
-

Existing block walls before we started the project. These walls were sitting on at grade footers which were 3-4 inches thick with water pooling under them. The column at the far left fell over when we leaned against it!
-
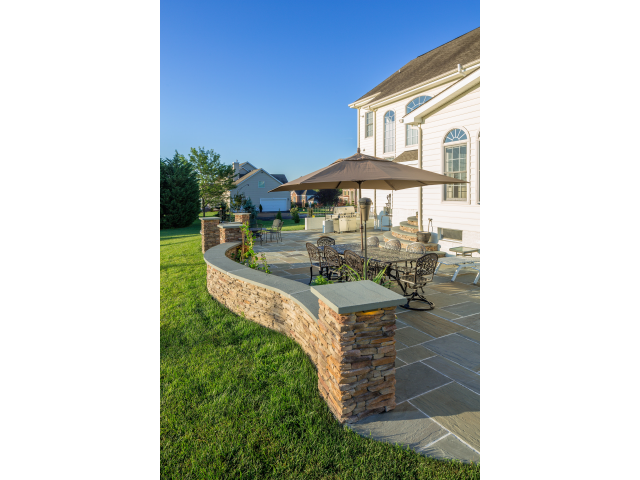
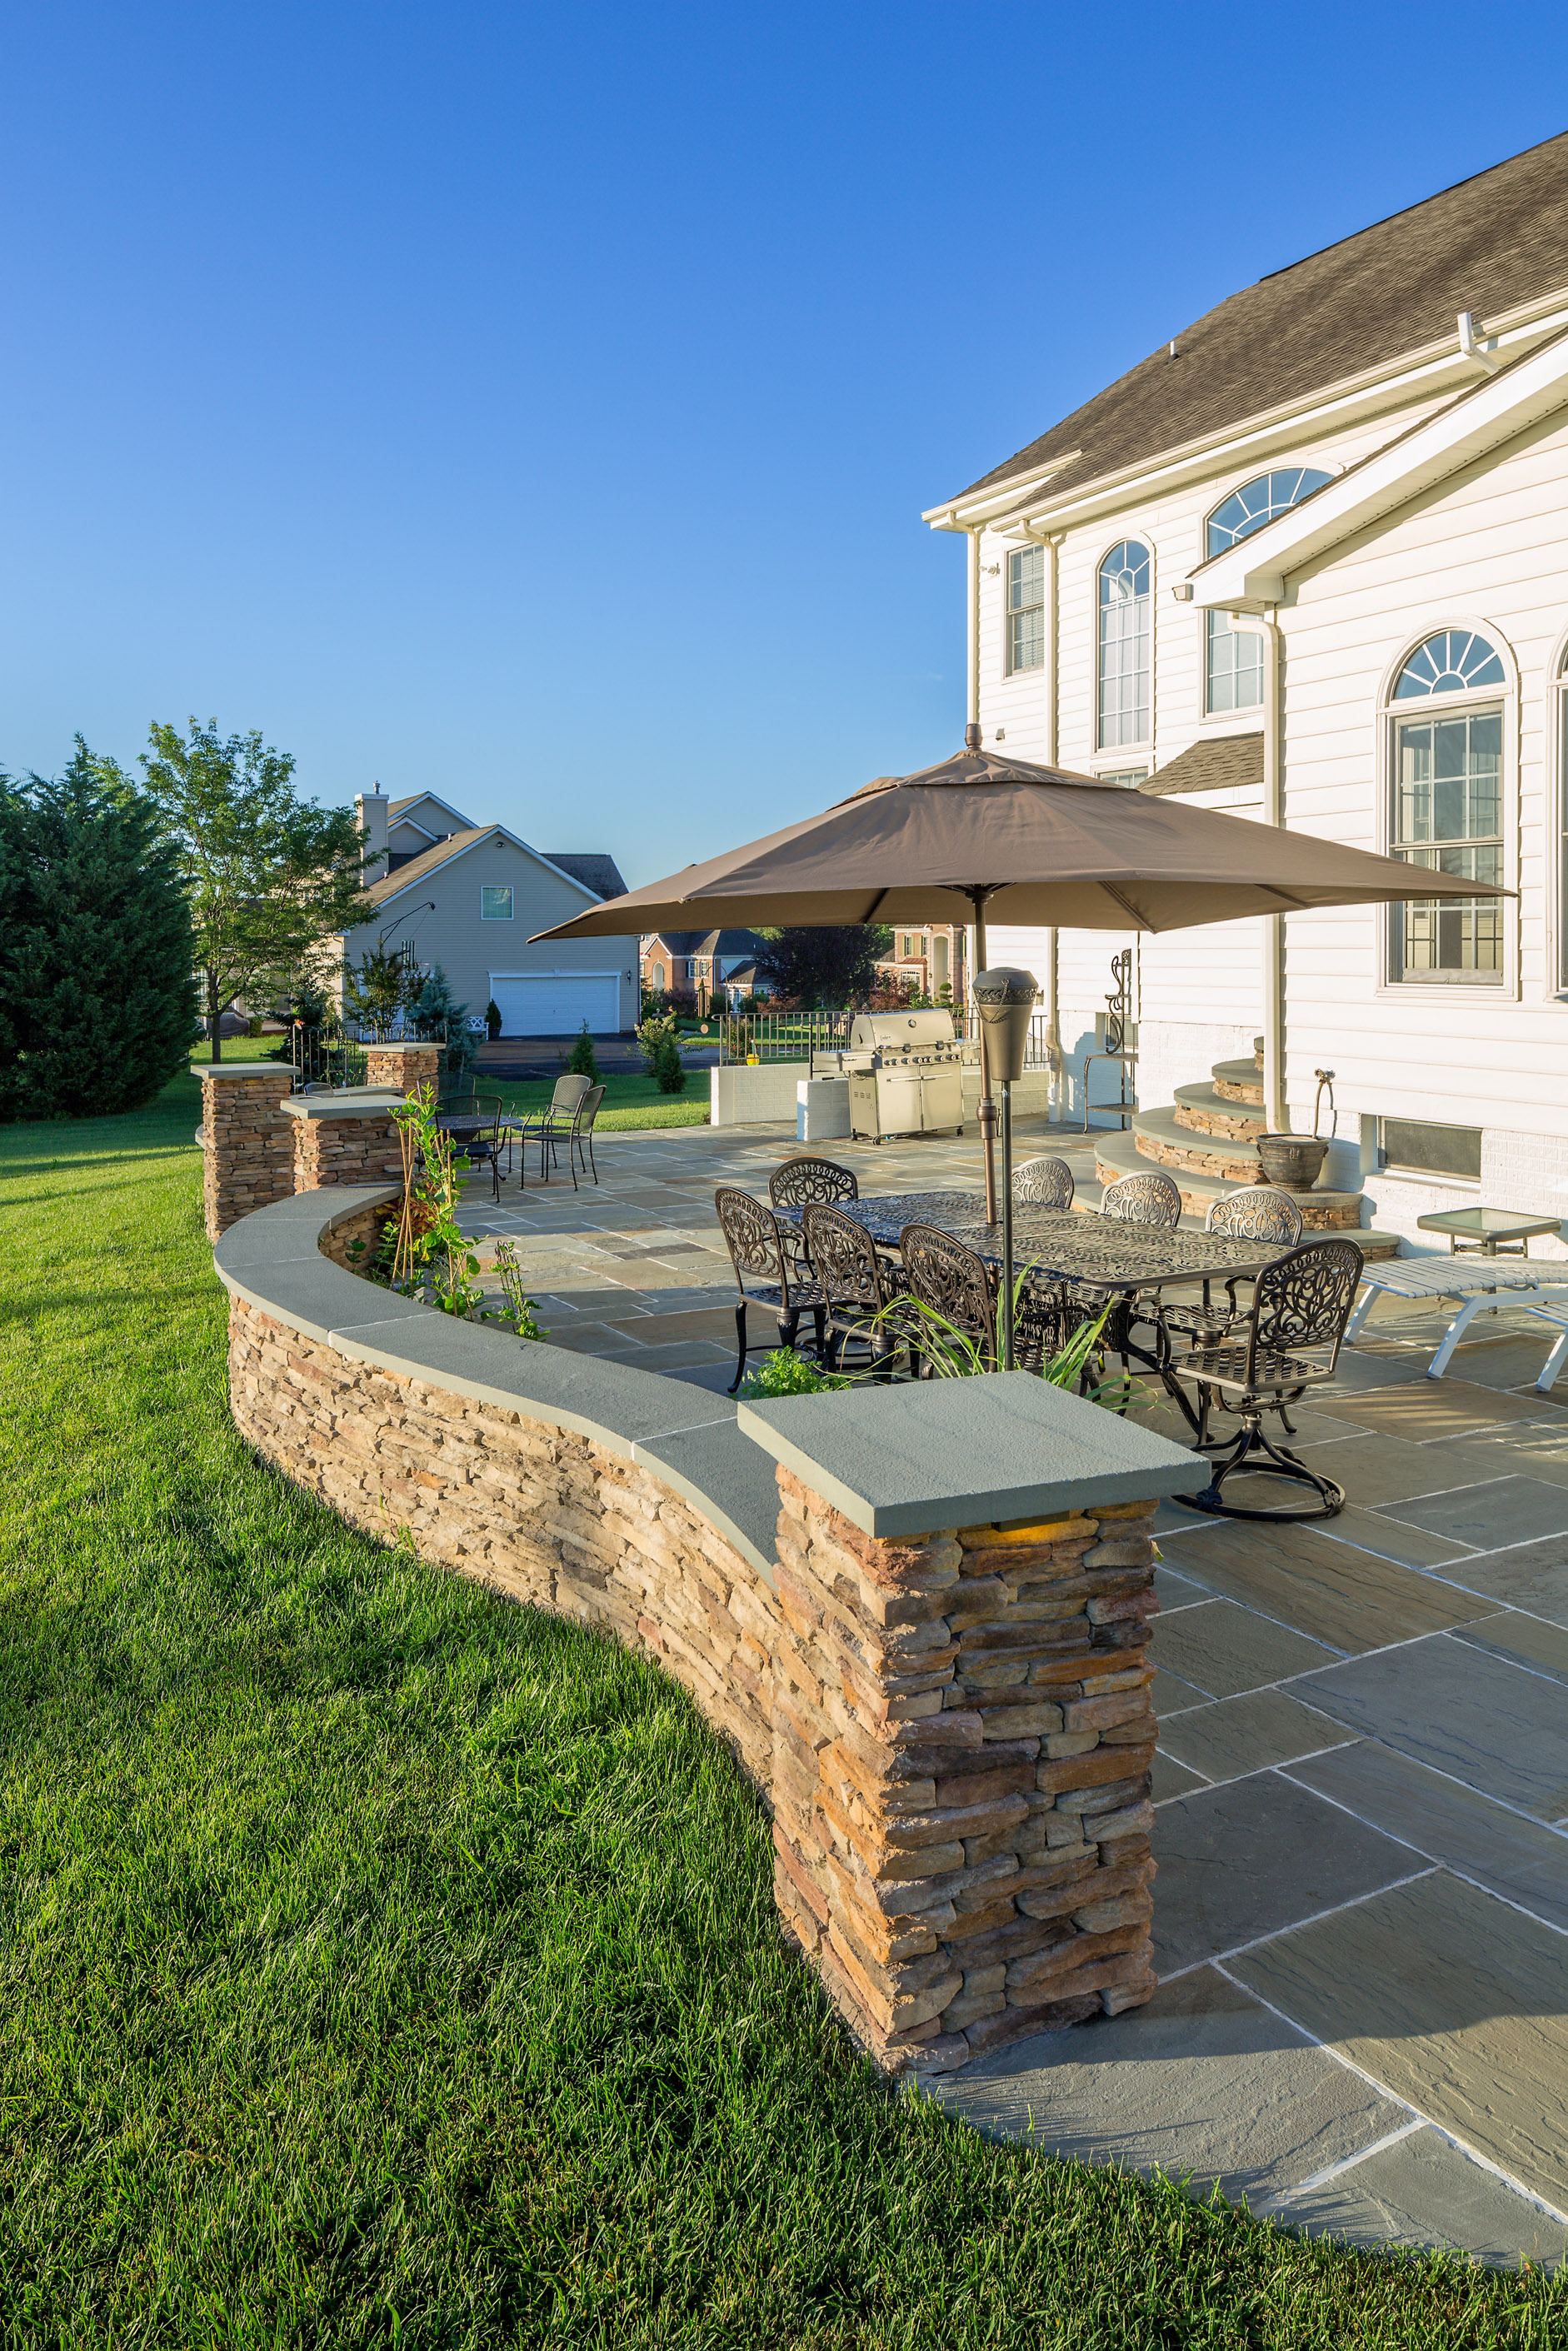
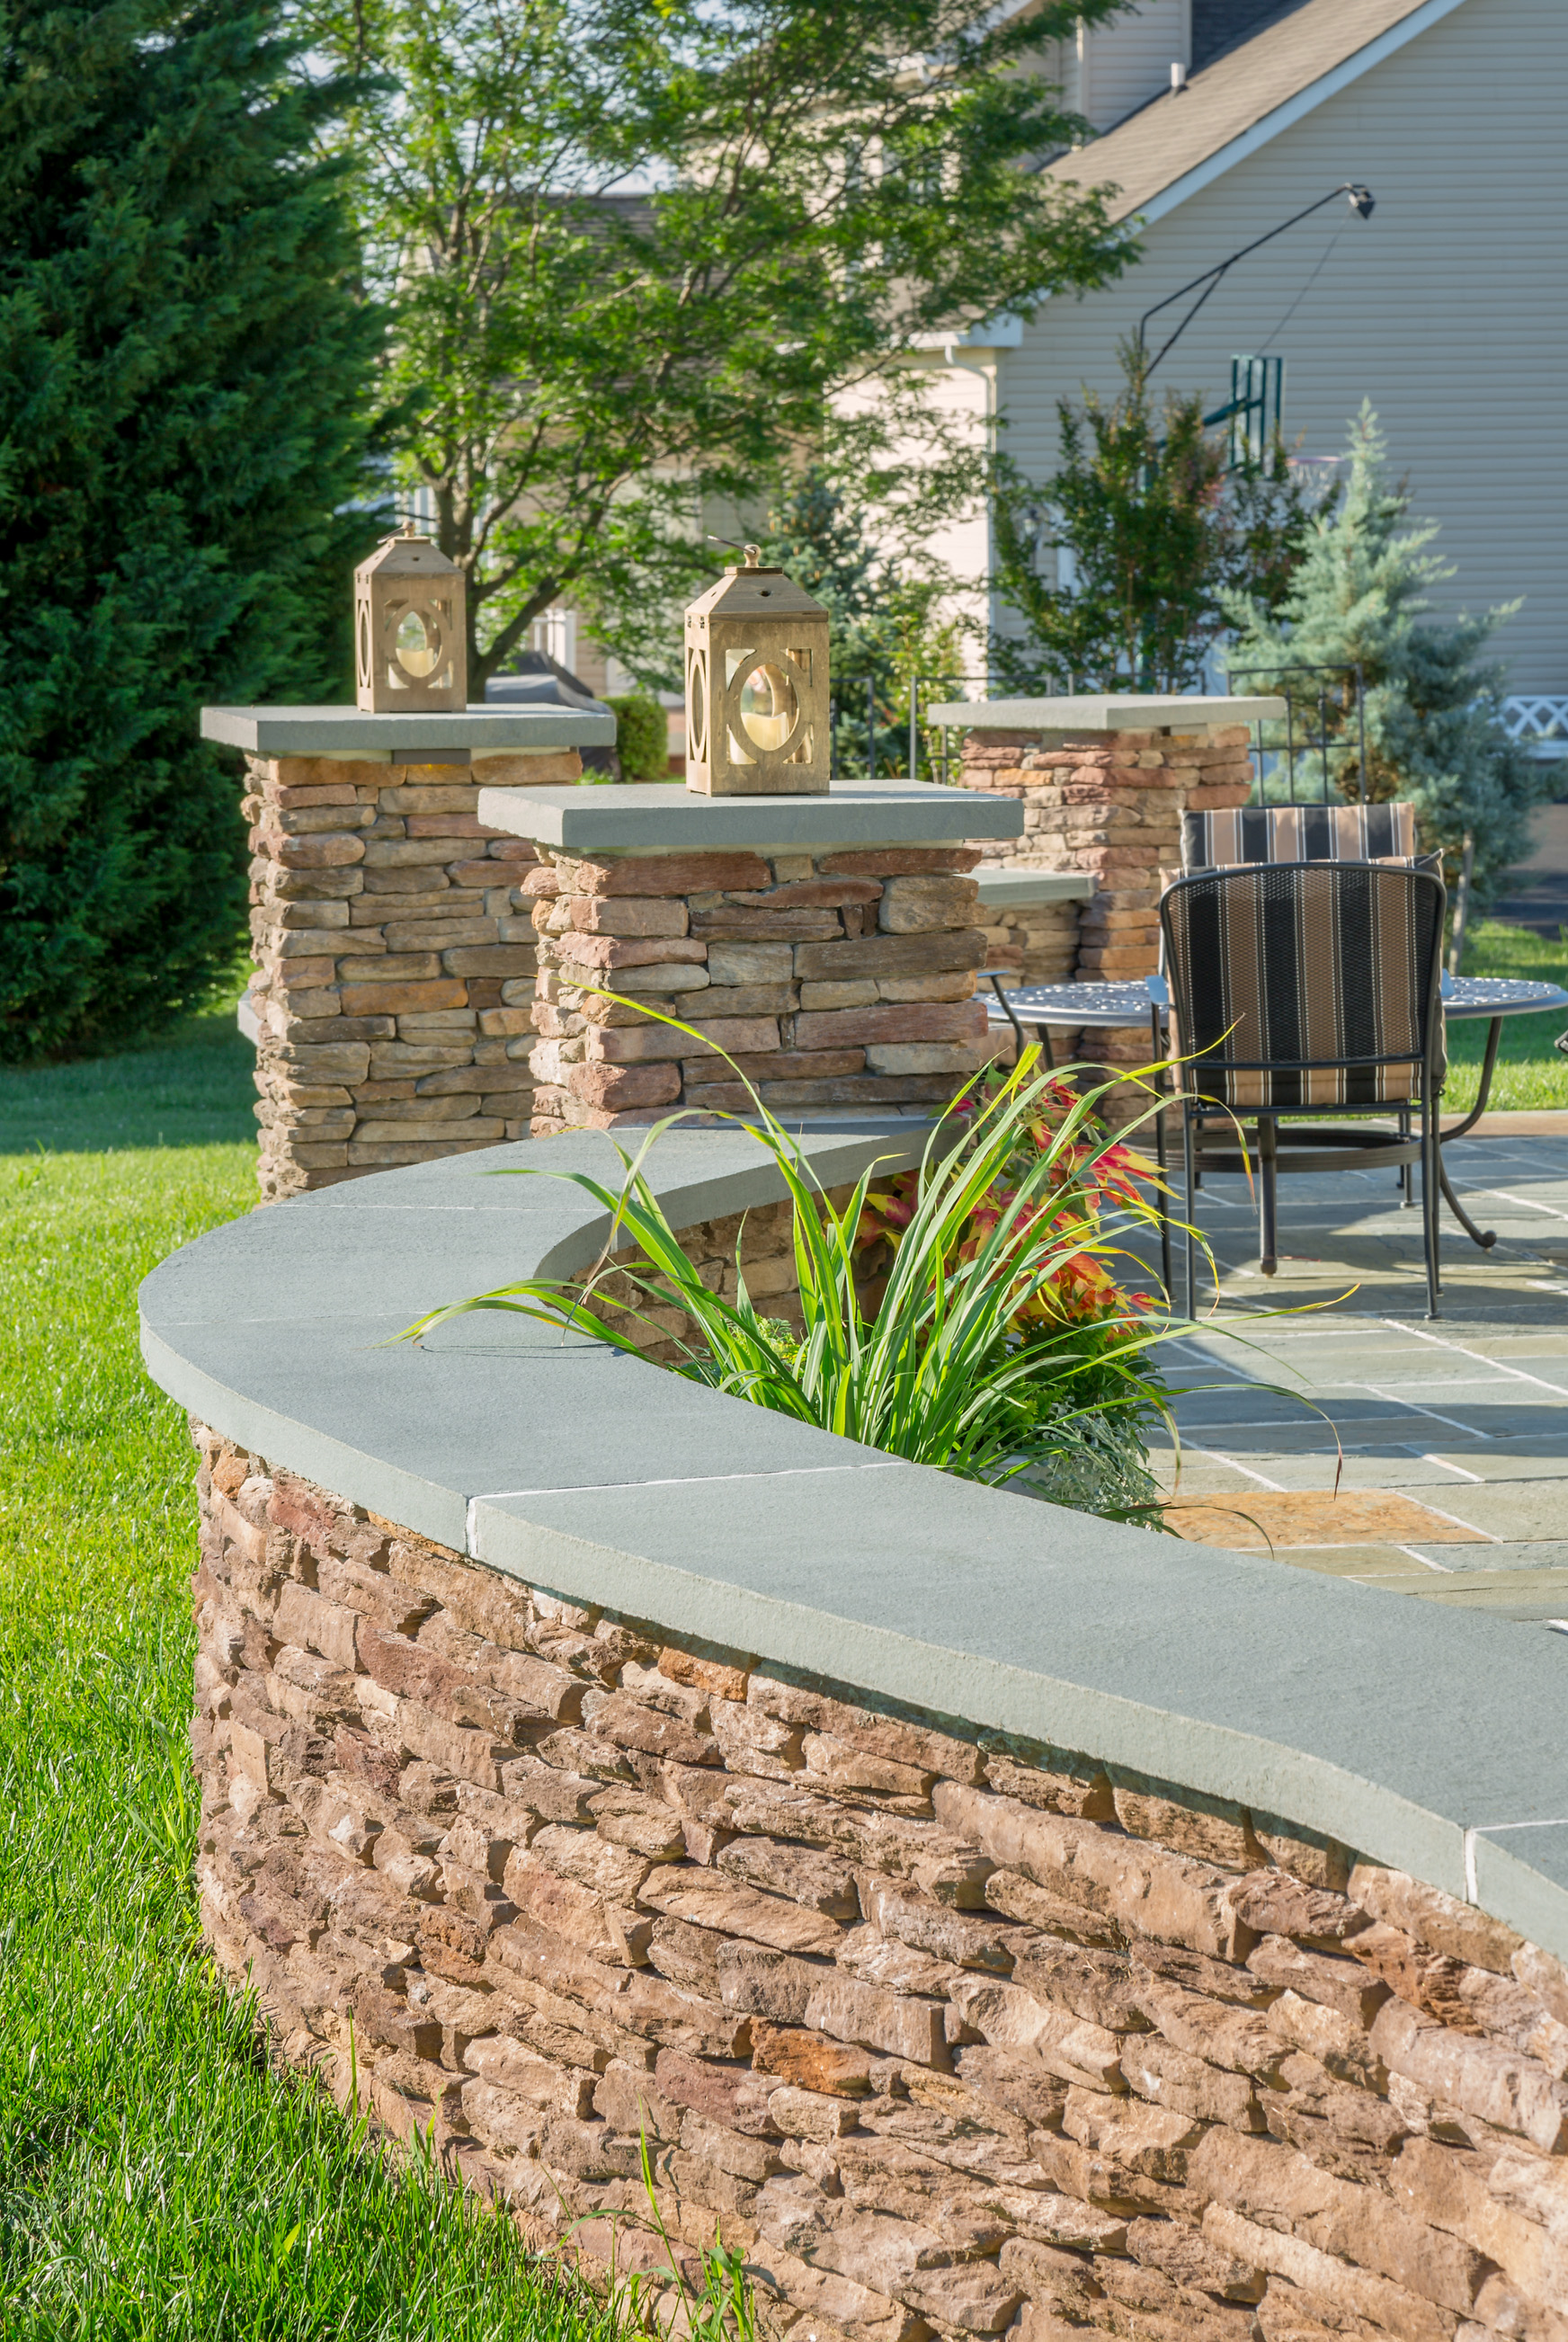
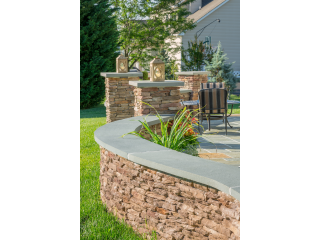
Completed stone veneer bench walls with bluestone caps. Each bluestone cap was made using a foam board template to get the radius exactly right and then cut to size from tread stock and burned to achieve a flame finish on the exposed edges. Under cap LED lighting is visible below the column cap.
-
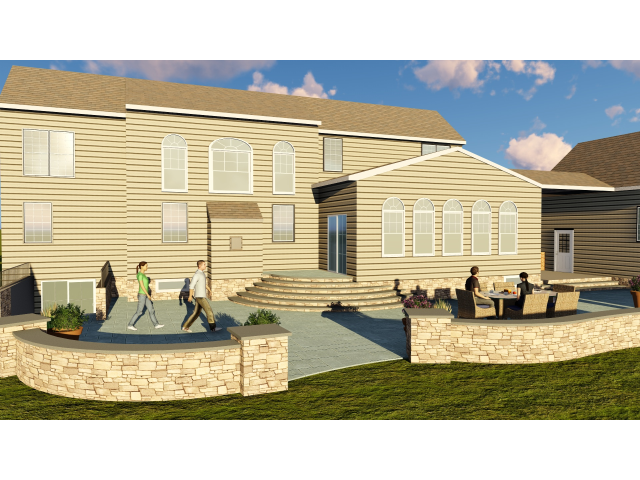
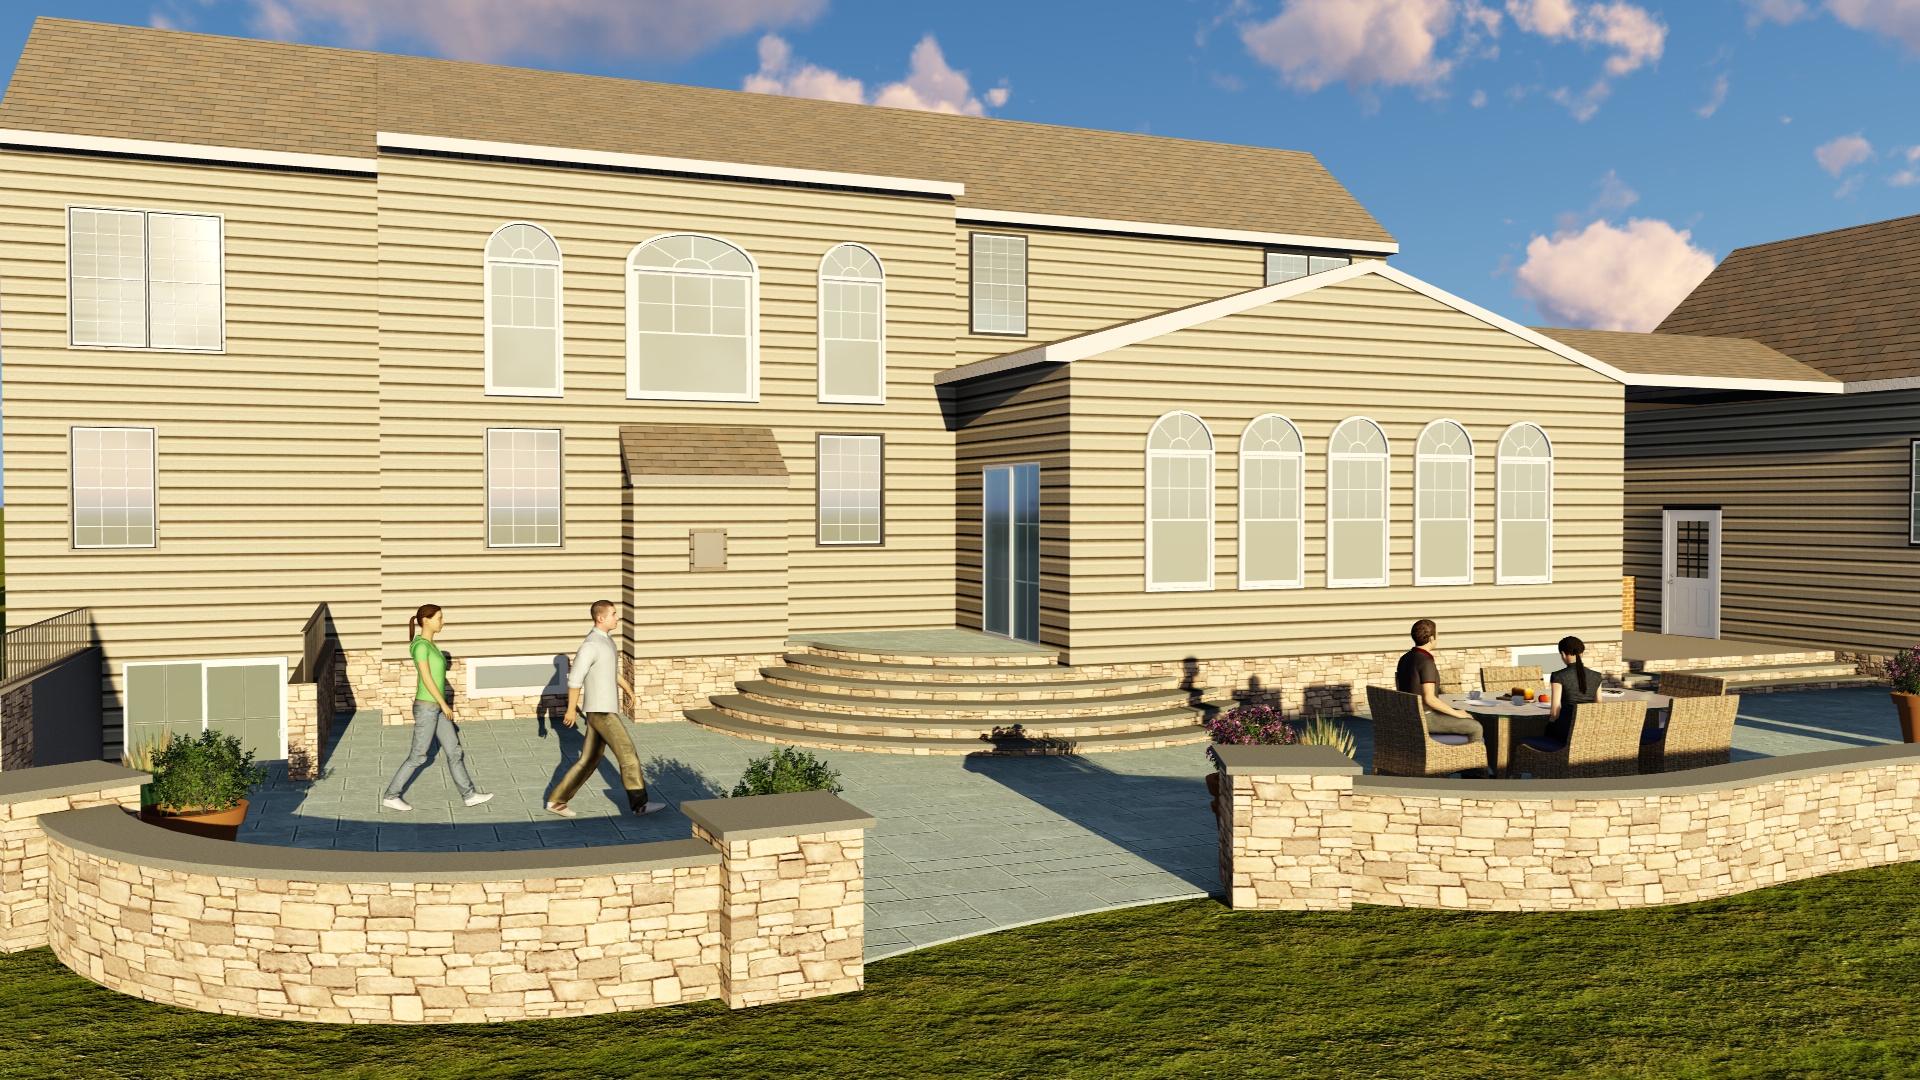
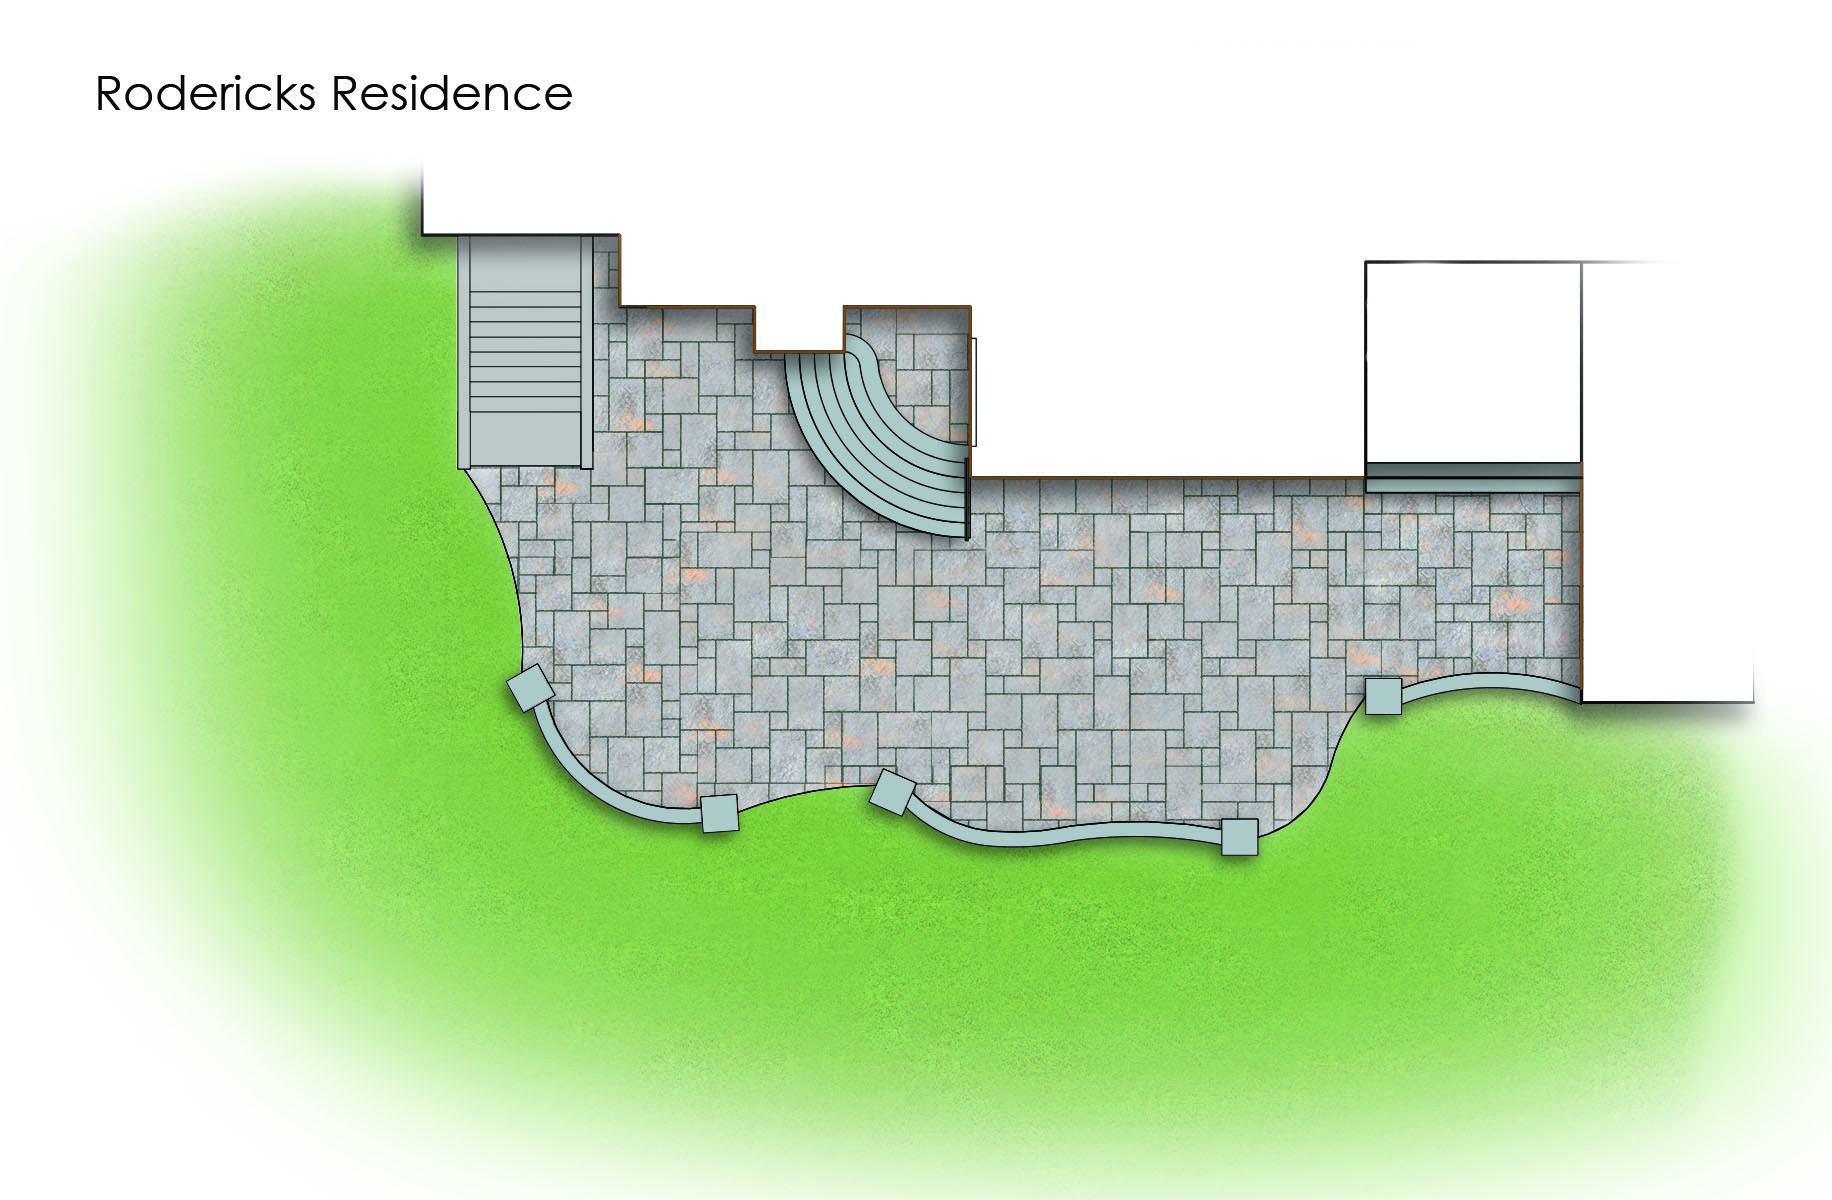
This image is from the 3D model that was created to give the Rodericks’ a very good idea of how their space would look when we finished, before we ever started! Materials for the patio, walls and steps were accurately represented and they were able to envision themselves in the space and how they would utilize the patio before it was built.
-

New stairs built from CMU block are shown here before veneer stone was applied and muti-color, natural cleft bluestone has been installed, prior to pointing of the joints.
-
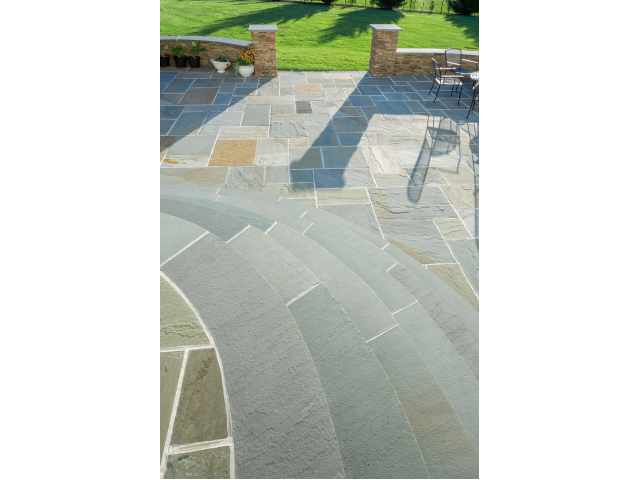
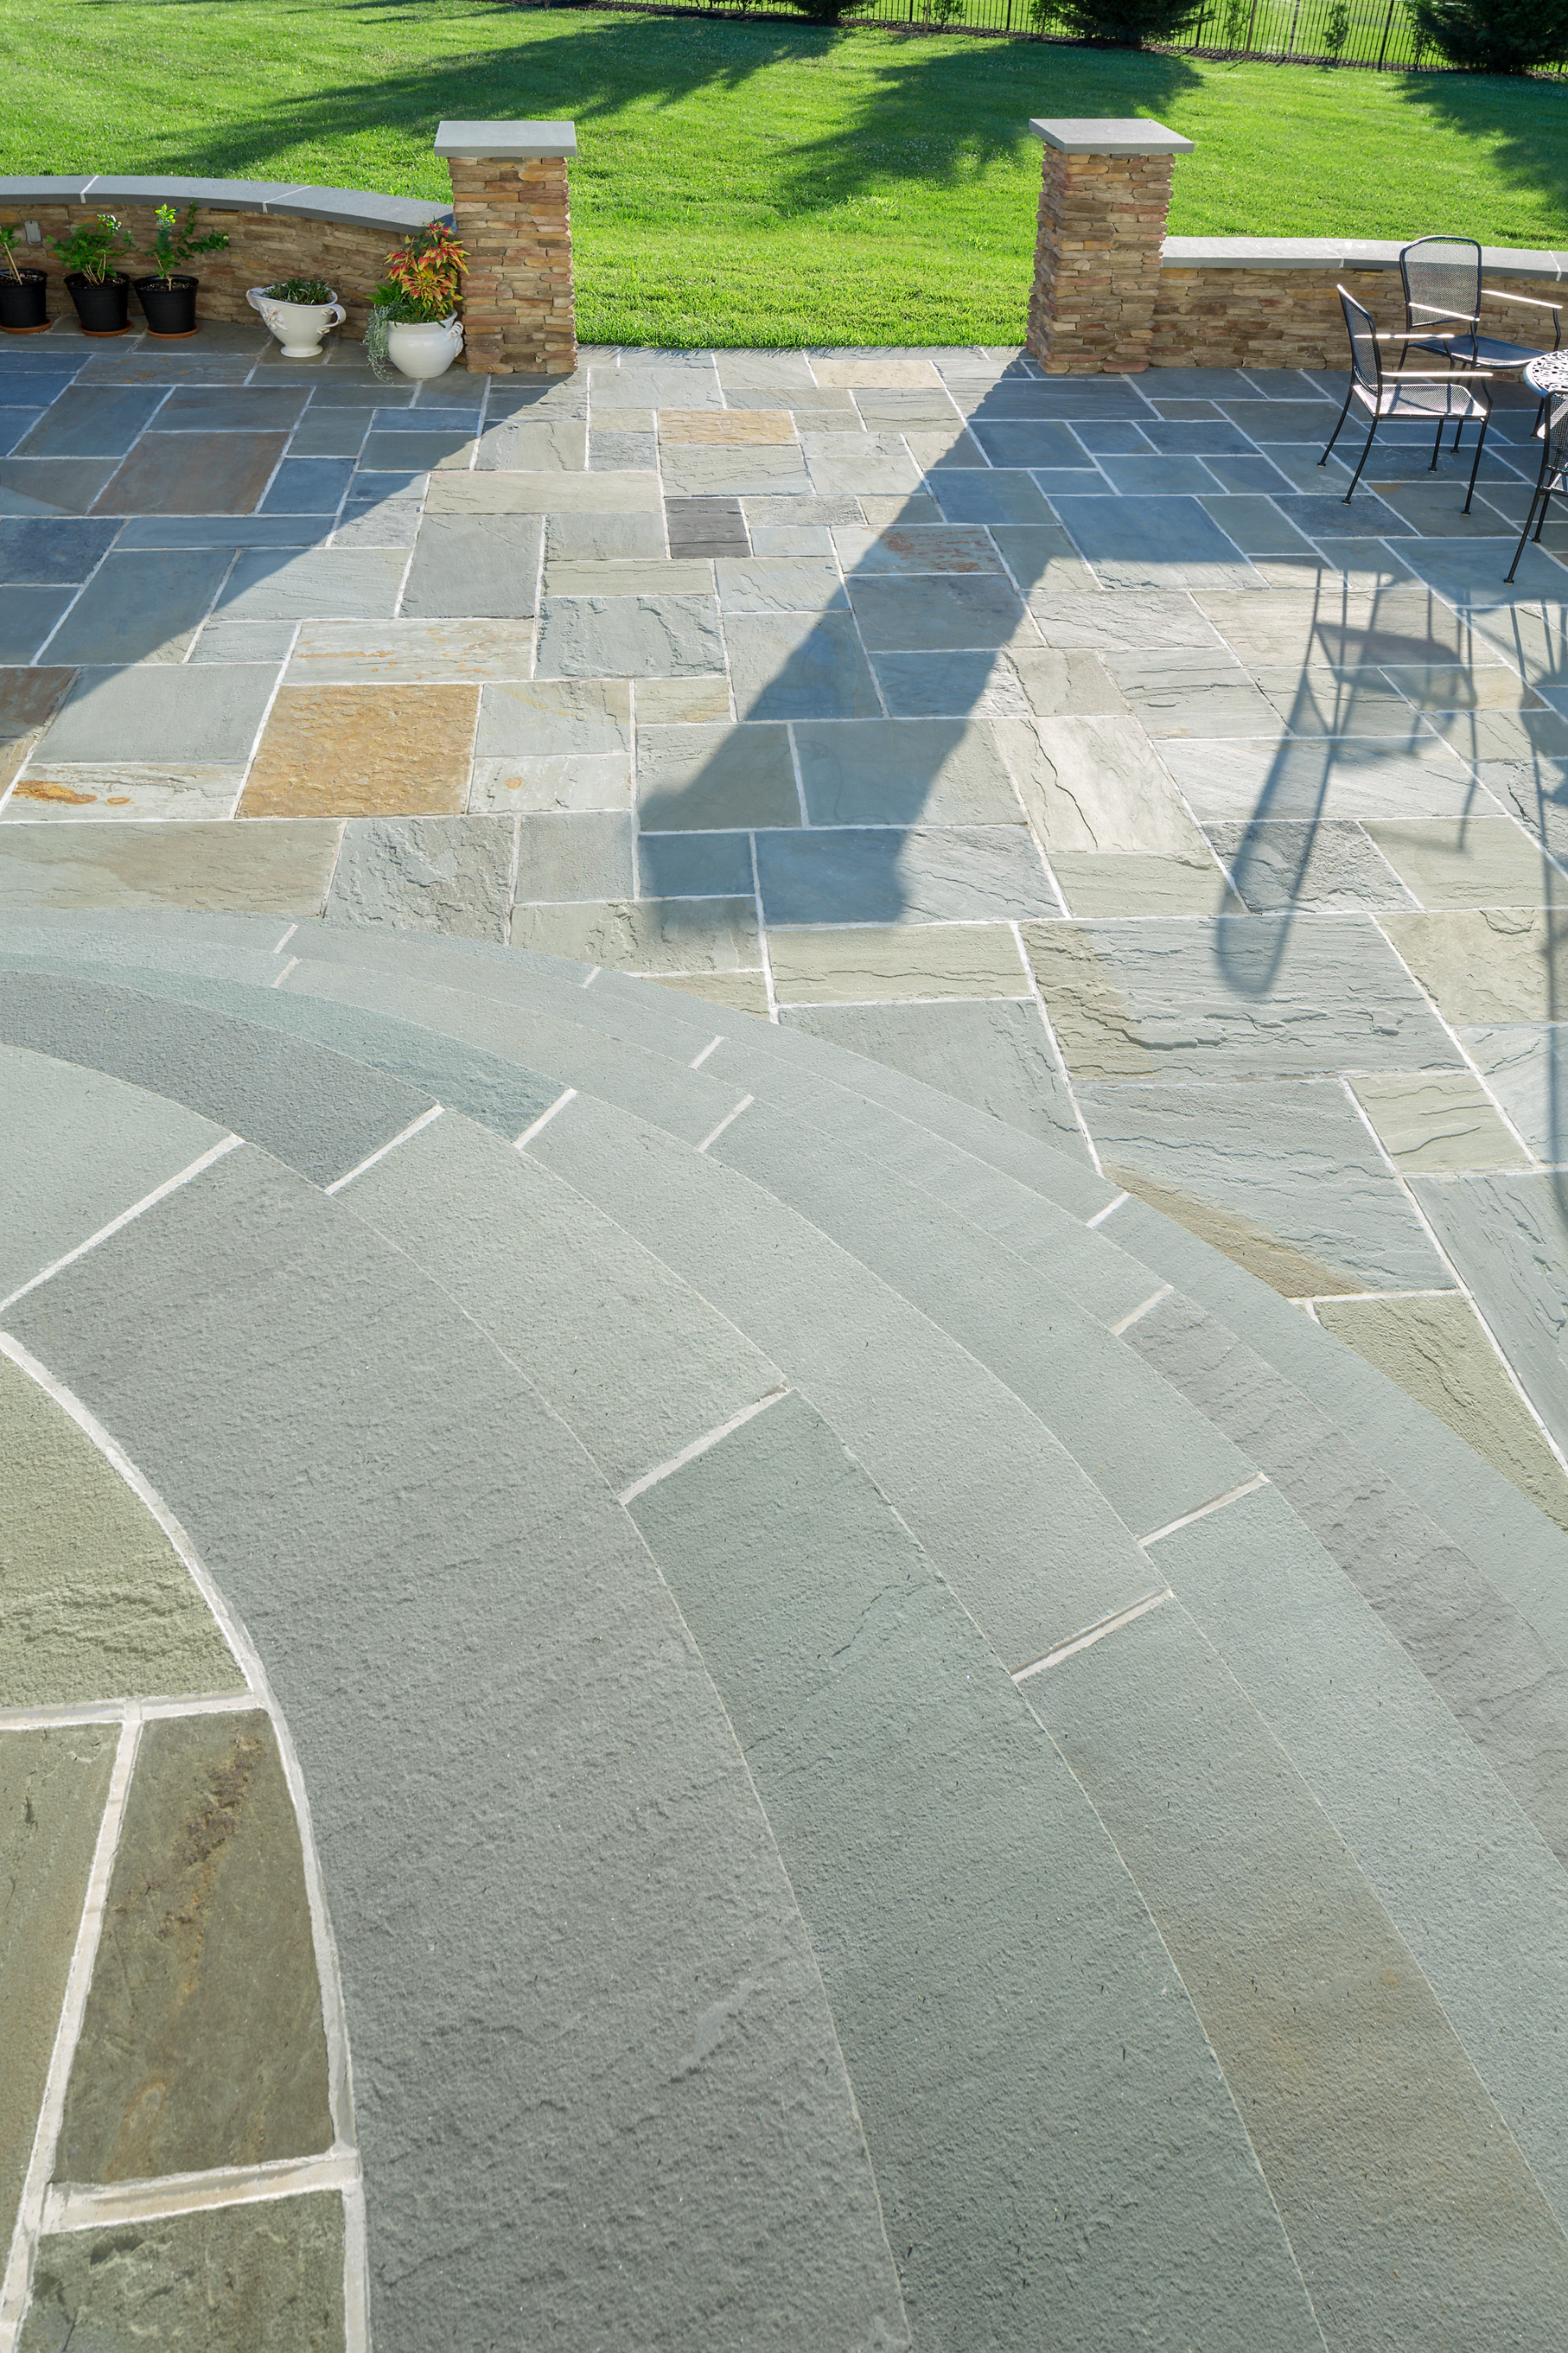
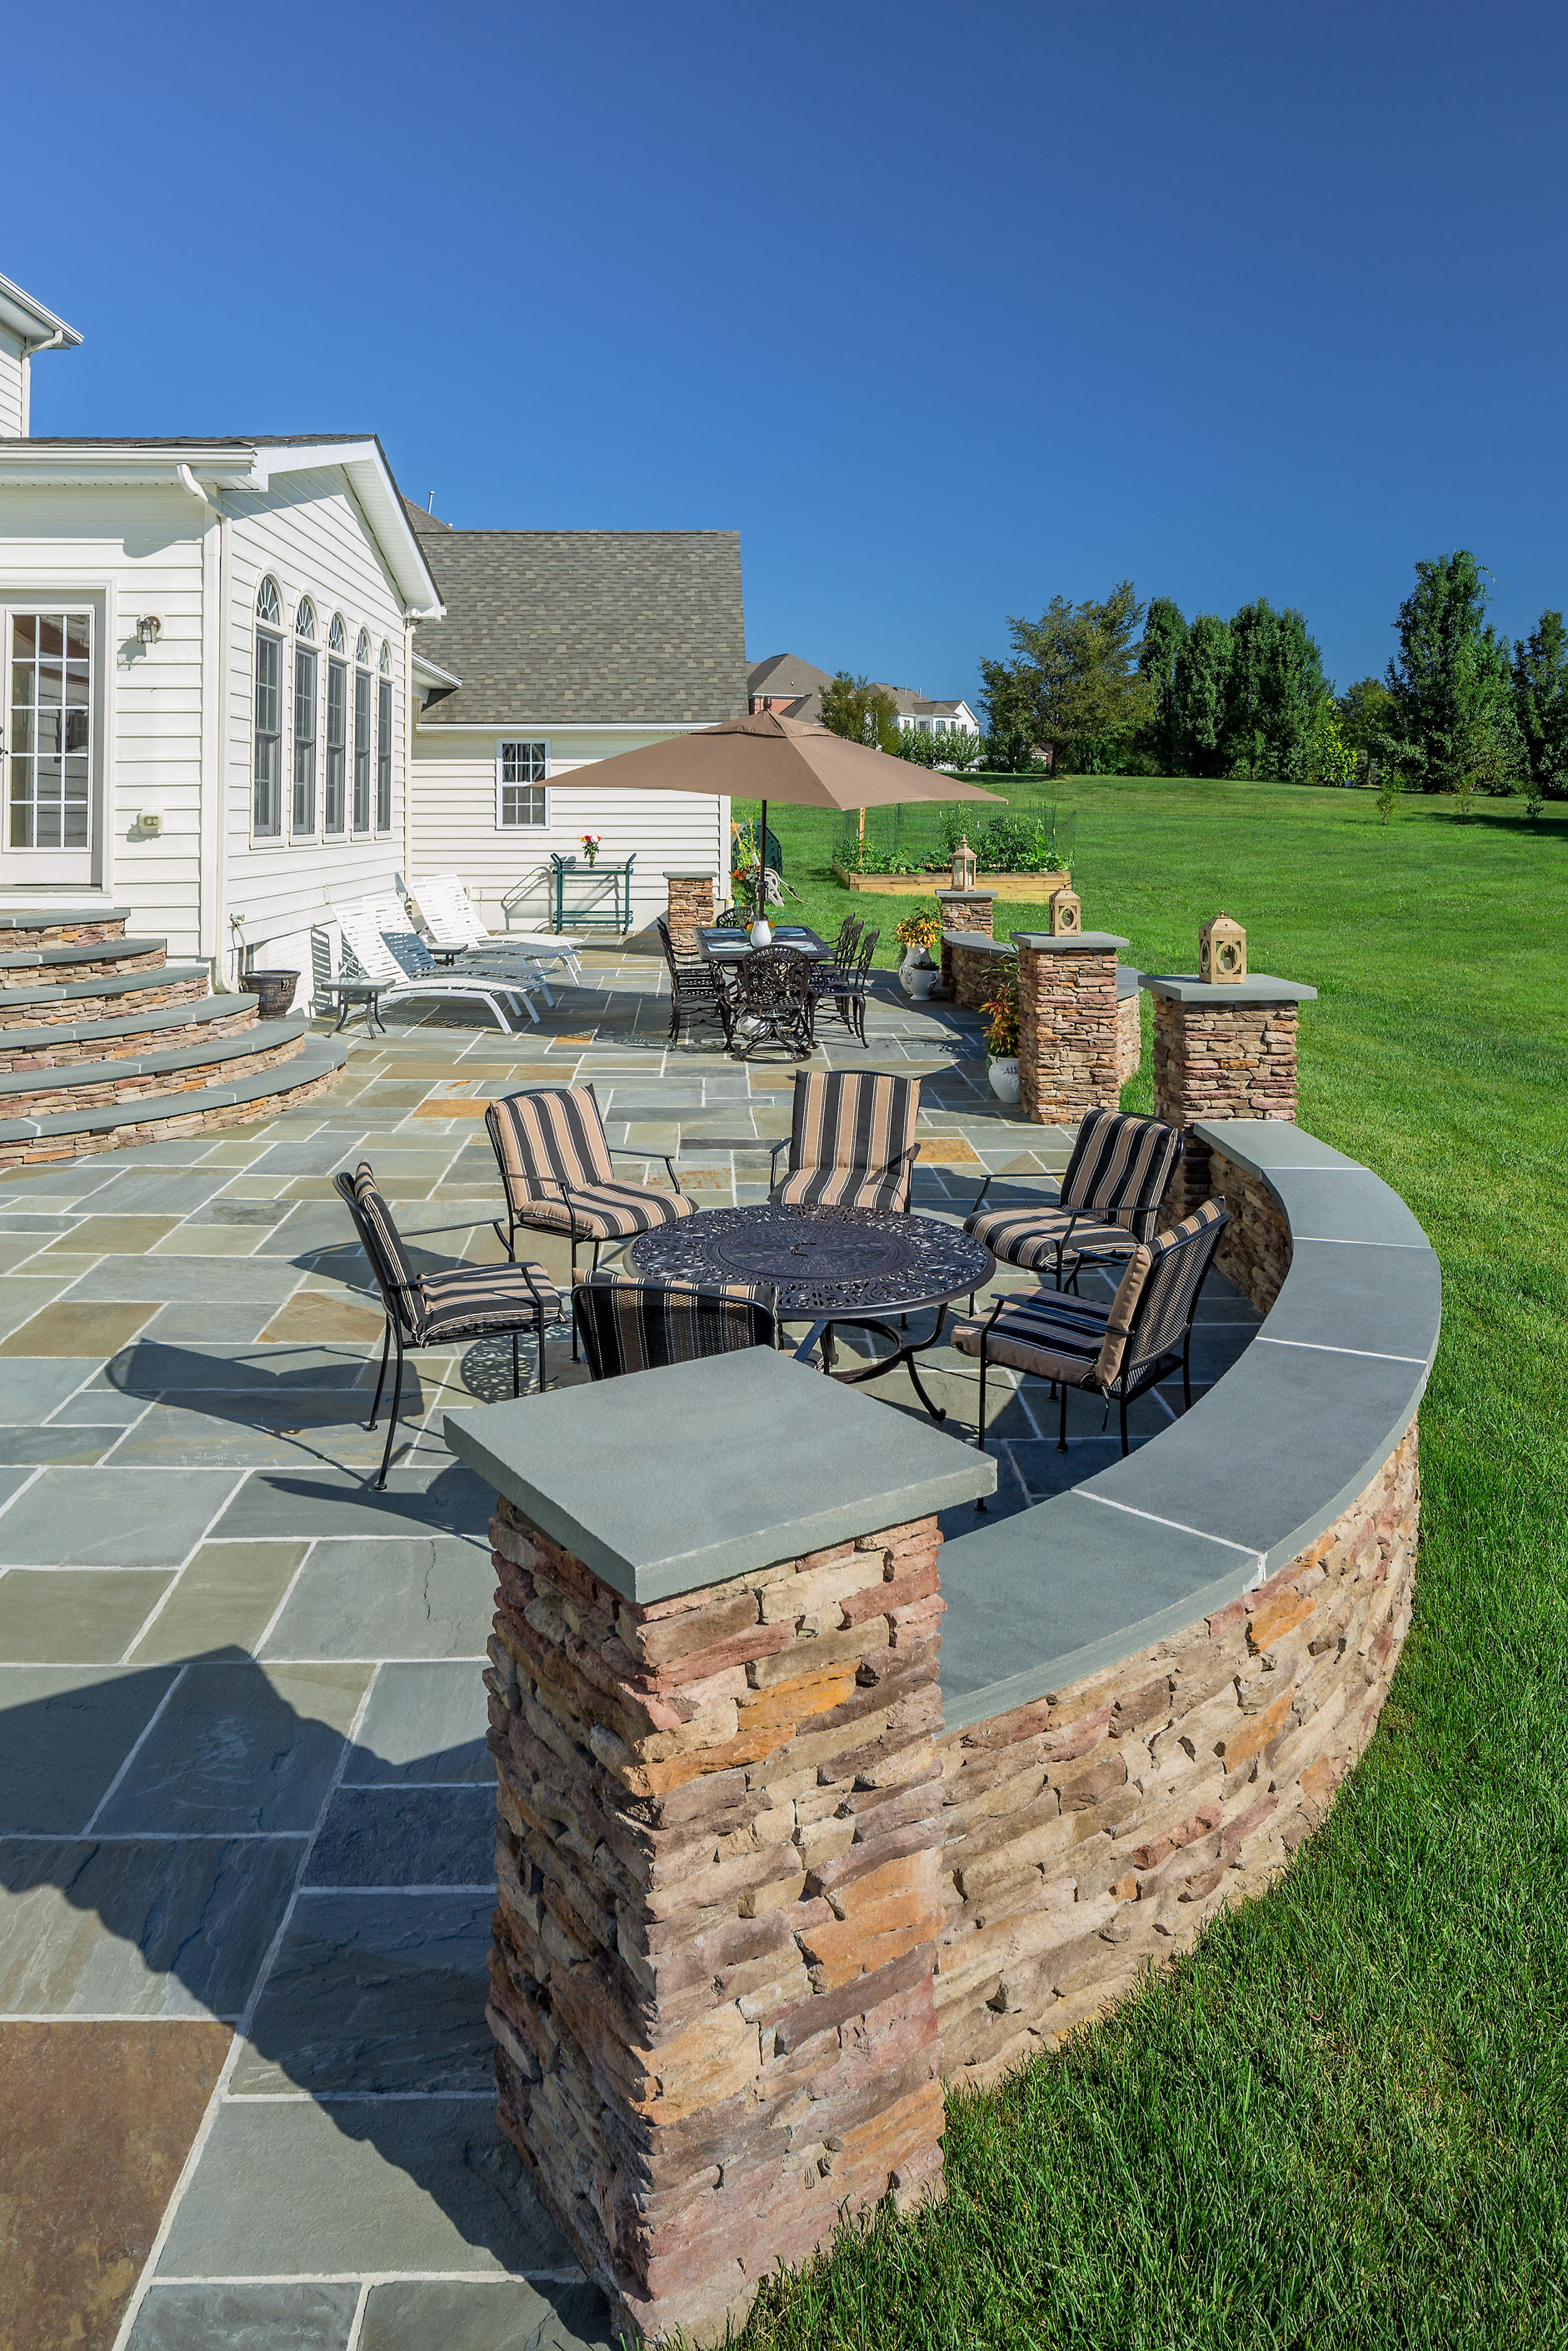
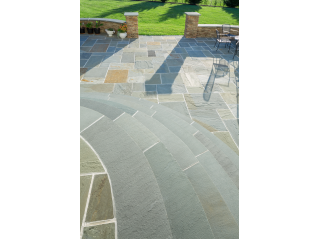
Looking down from the landing at the top of the stairs, the radius of each stair follows the one above and below it. The bluestone patio expands out to meet the bench walls and columns. The lawn was graded and sodded to blend into the existing turf and meet the patio surface without a step or threshold.
-
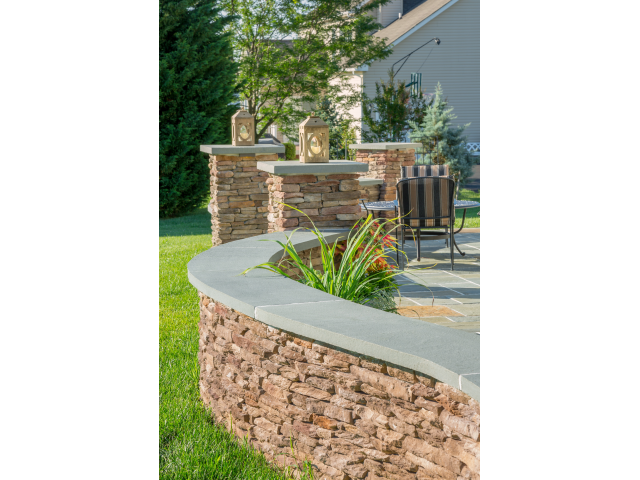
Fieldstone veneer wraps all the bench walls, columns and stairs on this patio. The bluestone caps were radius cut to follow the curvature of the walls. LED lighting was installed under the caps of the bench walls, stairs and columns on the patio side to provide accent lighting when the patio was being used at night.
-

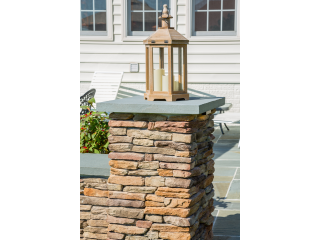
A close up view of the columns which anchor the end of each sitting wall. The dry stack field stone veneer blends into the wall, while the whole column sits above the bench walls. The bluestone cap anchors the top, and helps to conceal the LED under cap light which illuminates the patio area at night.
-
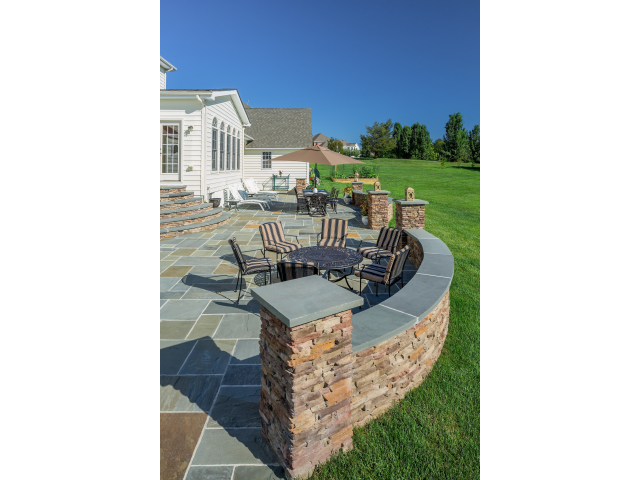
The view along the back of the home shows the three separate wall sections, each anchored by columns on the ends and tying into the home’s garage at the far end. On the left side of the photo, the steps to the house are visible. The pattern bluestone can be seen running the full length of the patio, covering over 1000 square feet. The staggered joints of the bluestone align and carry your eye all the way across the patio.
-

This is the plan that was presented to Mr. and Mrs. Rodericks to show the layout of the patio and placement of walls, steps, columns and the shape of the space. This design was based on the layout which was existing when we started, but we revised the design to maximize the useable space since we had to remove and replace all the work that was existing when we arrived.


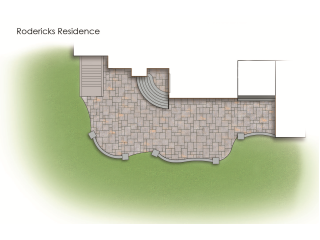
Rodericks Residence
Category
Exterior Categories > Residential Design/Build > $25,000 to $100,000
Description
Live Green Landscape Associates, LLC
Aaron Raines
Winner Status
- Merit Award

